Clip Studio Paint - on an iPad
A few months back I posted a few notes on using Astropad Studio to link an iPad to a Mac running Clip Studio Paint. I used this set up to create finished artwork for the MELC books.
The great benefit of Clip Studio Paint is that with the right tweaking¹ you can produce digital illustrations that ‘feel’ like natural media in a way that I don’t think Procreate can. At the time the added bonus of Astropad Studio meant tremendous advantages for the final artwork.
Around November last year, Clip Studio Paint was released natively on the iPad and I have been using it ever since.

When it originally surfaced there were a couple of excited discussions bouncing around the social interwebs:
It is too expensive.
Can it handle ‘big’ files?
Both of these discussions are now redundant in my view.
It isn’t too expensive.
If you are making professional quality art these tools are worth it.
Just a few years ago we were in the era of hundreds (and in some cases tens of hundreds) of pounds for software. Now the pendulum has swung wildly the other way with incredibly powerful apps costing under £10. Anything costing above that is easily written off, but let me just remind you that if you are living in a weird goldfish-memory mindset if you consider CSP as too expensive. It is worth every penny.

Sorry dudes.

As far as I understand, the Pro version doesn’t handle multi page creation.
And it can handle ‘big’ files.
The iPad version of CSP is bizarrely as good/better than the desktop Mac version. It easily handles multi-page creation². The Apple Pencil translates immediately into a better-than-Wacom experience and the ability to import/modify custom brushes means that this app just stole the lunch money of a lot of crying competitors. So far I have seen nothing to undermine this, and if you add in the point made by Frenden that an iPad Pro is a form of away-from-your-desk freedom, the cost savings become clear.
My current set up.
I took ages adjusting the CSP user interface to reflect how I actually work. It was worth taking the time³. The brushes are all carefully imported ones that are limited to what I find useful⁴ .
The artwork then gets exported via airdrop or directly through iTunes to my 5k iMac which gets used as a final layout platform. Affinity photo and my desktop copy of CSP exist for the sole purpose of being a big glossy compositional screen. Although this makes me a little sad about great tech becoming redundant, the big screen is great for seeing the work put together.
What could be better?
The myriad opaque UI choices are frankly bizarre (but don’t change anything yet because I have only just got things how I like them!).
The file management system is horrible - so many steps for exporting artwork. SO hard to navigate afterwards. In this regard Procreate is the Boss. Looking through completed artwork is way better - with CSP it is like pulling teeth and I tend to avoid it.
If you want to make it cheaper I won’t complain.
¹ Using a variety of imported brushes from people like Frenden and DAUB.
² Something I missed sorely while using Procreate for the 100+ images for the Dear Theo project - reordering and finding files in their folder system was quite tricky when I had to swap iPads mid-process. It also means that Astropad Studio is now going bye bye. The £60.99 annual subscription is now heading to the pockets of CSP. Sorry and thankyou guys - I made some of my best art using your terrific stuff.
³ This is something that Procreate doesn’t try to do for good reason. CSP has an unintuitive opaque UI that would leave you airless in a mineshaft if you weren’t too careful. There are a few places on YouTube where a simple search will give you tips. Don’t be too put off by all this fiddling about - once you get this baby set up right it is amazing.
⁴ I was pretty deliberate about limiting this - too many choices will overwhelm and drown those visual ideas. And we don’t want that to happen do we? We want that little dude to live and become a hairy beast all on his own.
My workflow on the second MELC job
I really wanted to post some notes on my workflow for this project before term time hits again, so here goes:
What is MELC?
Making Every Lesson Count is a book that Shaun Allison and Andy Tharby wrote a couple of years ago. In essence, it is about teaching for teachers. It strikes that rare balance between everyday practice and bigger principles derived from research. The immense success of the book among the teaching community speaks for itself - it has sold upwards of 7,000 with at least two reprints.
I got the opportunity to illustrate the book because I had developed a great working relationship with Andy illustrating lots of his blog posts. For some lovely unknown reason our visual-verbal chemistry just seems to work and so the door swung open when the book was being discussed.

I loved this project because I was able to be the pretty pink icing on an already delicious cake.
Now that the series has been developed into a range of subject-specific volumes I got another go at working with these guys. Over the last week I produced around 100 images for the next three books. What follows are some notes on my workflow - I hope that these are useful to you.
Manuscript Notes

For these I usually scrawl on a PDF of the manuscript using Notability. Doing this on an iPad in a pub allows the Author to talk freely as I highlight parts of the text and improvise ideas on the go. Notability is a workhorse for me - I have used it daily in my teaching for years now and it has rarely let me down. For multi-page annotation of PDF documents there is nothing better.
Rough Pencils

I took the original notes and put this together - the linework is deliberately loose - produced in Clip Studio Paint and Astropad Studio (see below).
Tidy Pencils

Getting a bit closer now - I create another layer and take a bit of time to tighten up the original strokes. Often I try and simplify things down to the essence.
Corrections and shading
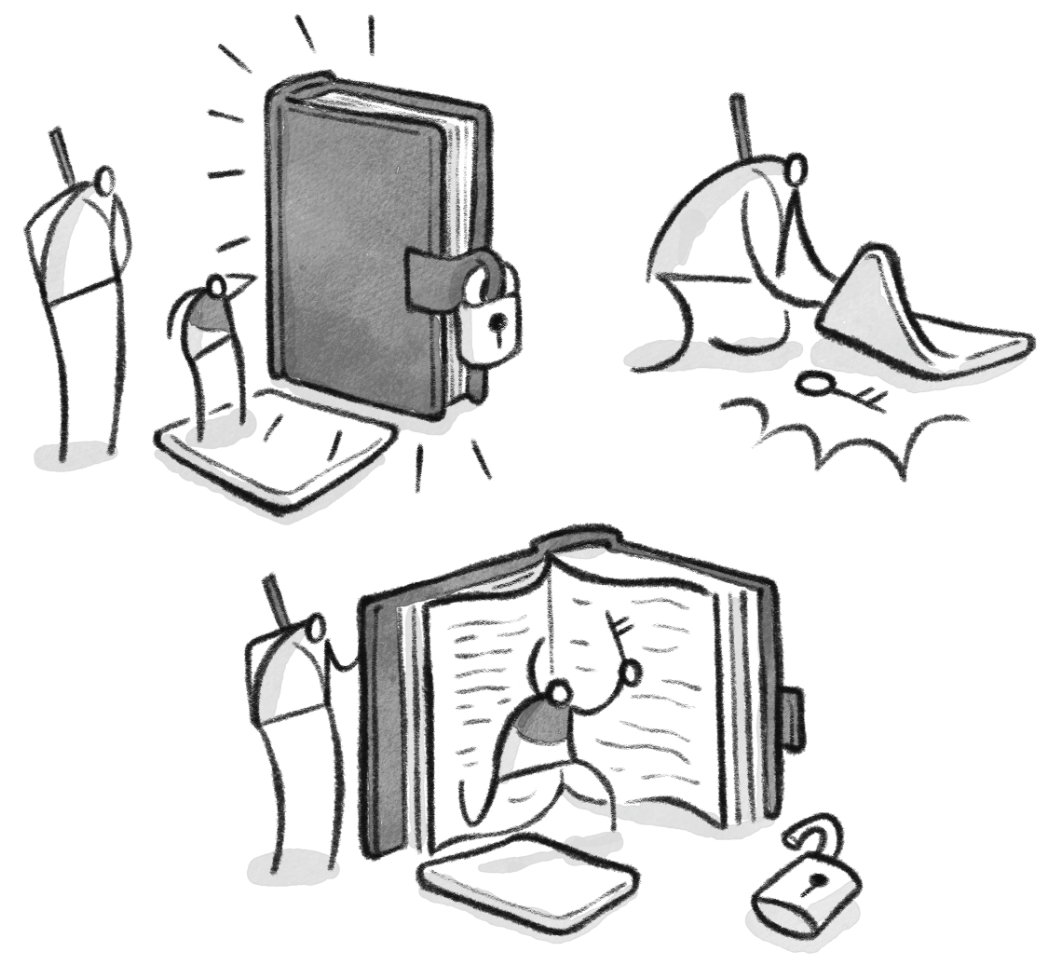
This is the bit where my hand hurts and I need to go out for a walk before my body shuts down entirely.
Get on with the process chat, Ramjam
To create the final artwork, I used Astropad Studio via a large screen iPad Pro to draw these images in Clip Studio Paint. The experience was superb.
Here is the set-up for this particular job:
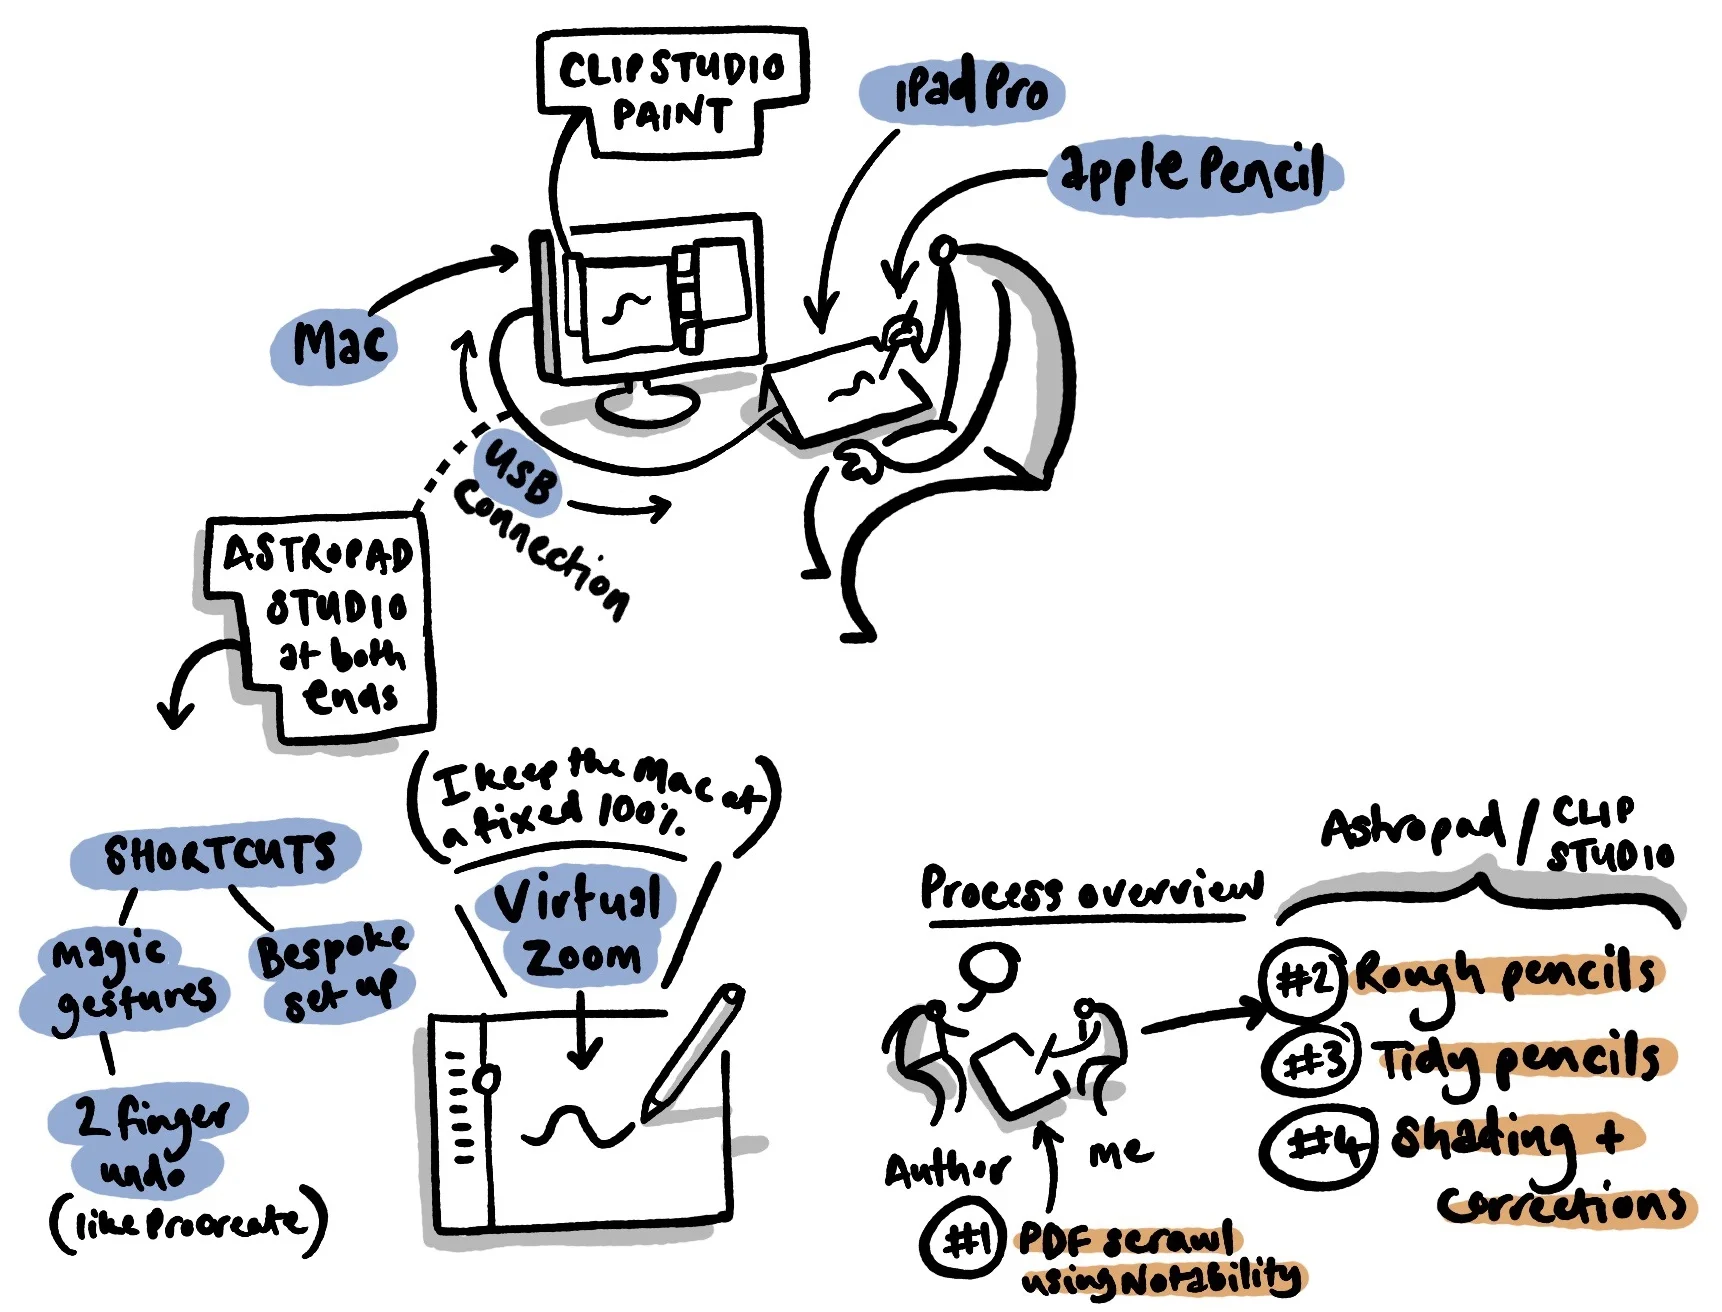
Please don't tell me how poorly presented this image is.
Some notes:
Clip Studio Paint - this is cheap, quirky, reliable and brilliant for multipage natural media creation. Seasoned pro artists swear by it, and I am in complete agreement. I use it in combination with a carefully selected bunch of Frenden's natural media brushes. It is a great piece of software.
Astropad Studio - some people will moan about the price, but if you produce artwork professionally, this is a serious alternative to the Intuos-style screens. The key benefits (on this job) were:
having a two-finger tap for undoing strokes (Procreate-style)
being able to easily set up a bespoke shortcut menu which freed me from my mac keyboard for most of the process
the virtual zoom is a major advantage - I tended to keep the main image at 100% on the mac screen and then used the iPad as a virtual zoom tool. I found that this was very fast and efficient feature
the Apple Pencil as an input method is a killer move baby. The sensitivity and handling is even better than using Procreate natively on the iPad pro. I loved drawing in this way.
the iPad screen itself
Gone are the days where I used to worry about the gap between something drawn 'on the computer' or drawn 'by hand'. With this set up the discussion isn't relevant any more.
If I missed anything or if you have any comments, please get in touch via email (saamvisual at gmail dot com), instagram or twitter.
Paper-Digital Workflow

The main issue with having a good creative workflow is being able to think and develop your ideas effectively. Over the years this has changed a lot for me personally, partly because the technology is different and partly because I am too.
In the past I had a tendency to overdo things and get a bit precious about every design element, but as I worked with a variety of editors/clients I realised that my best work tends to be more spontaneous.
This doesn't mean that I’m not thinking about things, just that the end material is more instinctive and less self-conscious, which is where my preferred workflow comes in.
I usually start with possibly the fastest medium available - a biro and sketchbook. I will scribble stuff out and often develop things across three or four drafts¹.
At some point I will then take a photo of this artwork with an iPad² and process the image using an app called Prizmo³.
After this I will work mainly within Procreate using an Apple Pencil⁴ (and yes I have a set of particular brushes⁵). My approach with Procreate is to use it like an old-school lightbox - a manipulated template layer at the bottom with reduced opacity as a guide. Beyond this I will have a black ink layer, a couple of grey tonal layers (one of which usually using multiply mode) and then further colour layers (also set to multiply). I sometimes bring in other textured bits and pieces depending on what I am doing.
My mac is still useful - particularly when it comes to doing the heavy lifting of composite video work and some text-design-layout based activities, but increasingly I am finding the iPad a tool of choice. The flexibility combined with with the immediacy of a thought-based workflow is something I often have to pinch myself over.
¹I will probably post something here soon about the use (and misuse) of a sketchbook, but for now I’ll just say that the dynamic of the viewing audience can ruin this most sacred institution. There are lots of flashy sketchbook samples posted online which are beautiful but vacant exercises. Well not exactly vacant - they look nice, and get lots of likes, but in the end my personal view is that a sketchbook is about externalising and developing thinking and reflection. These things don’t easily fit into something that the watching world understands or cares about and therefore should be kept under wraps unless there is a really good reason to share it.
²Another note on the use of an iPad: there are a number of people online who refer to themselves as iPad artists, or iPhoneographers. I would gently warn against this kind of self-definition. While it is true that I tend to use Apple products 24/7 and depend on their services to teach and create stuff (students often associate me with some kind of spineless Fanboi), I think that it is important to distance yourself from your tools and remember that you are a creative person and these are tools to help you get the job done better. One day those tools will change or disappear and you will have to find a different method, so please think twice before you define yourself in this way.
³If you haven’t seen or used this app I recommend it highly - I have been using it for years and it keeps getting better. You can ‘scan’ multiple page documents, process them and send them digitally. You can do surprisingly effective OCR with it, get it to read texts out and - in this instance - scan draft artwork and prepare it easily. It is also worth mentioning here the fact that the current camera on an iPad is now up to a superb standard, meaning that you just don't have to worry about taking reference images or scans of work.
In the olden times I used a scanner a lot and would stitch together images using photoshop. Now all of this is virtually redundant - my scanner is somewhere collecting dust.
⁴What can be said about this most wonderful development in the world of art-using technology? It is perhaps one of the greatest steps forward for me in recent years - the combination of iPad/Pencil and Procreate is very sweet indeed. Enough with the gushing.
⁵If you look around the Procreate forum you can find a load of free brushes, discussions and some links to paid stuff. I won’t post any further details here because really this is about finding your own path and what works for you (which might take a long time!). Whatever you end up with, it is important to have a sense of conviction and ownership. Happy exploring.